SAVE THE BONES. FREEZE THE SCRAPS.

Take those leafy celery tops and tough ends, carrot nubs, onion skins, garlic peels, potato skins, mushroom remnants, turnip bottoms (you get the point) and toss them in the freezer. Roasted chicken, bone–in ribeye, baked ham, shrimp or lobster dinner? Save the bones; keep the shells.
If you ever buy vegetables or meat or shellfish on a regular basis, you could always have the basis for a stock. Place these leftovers in freezer bags until you’re ready to make your stock. No need to defrost, just add to a pot and let the party begin.
BASIC MEAT STOCK
- Place your bones in a deep stock pot or 8 quart dutch oven.
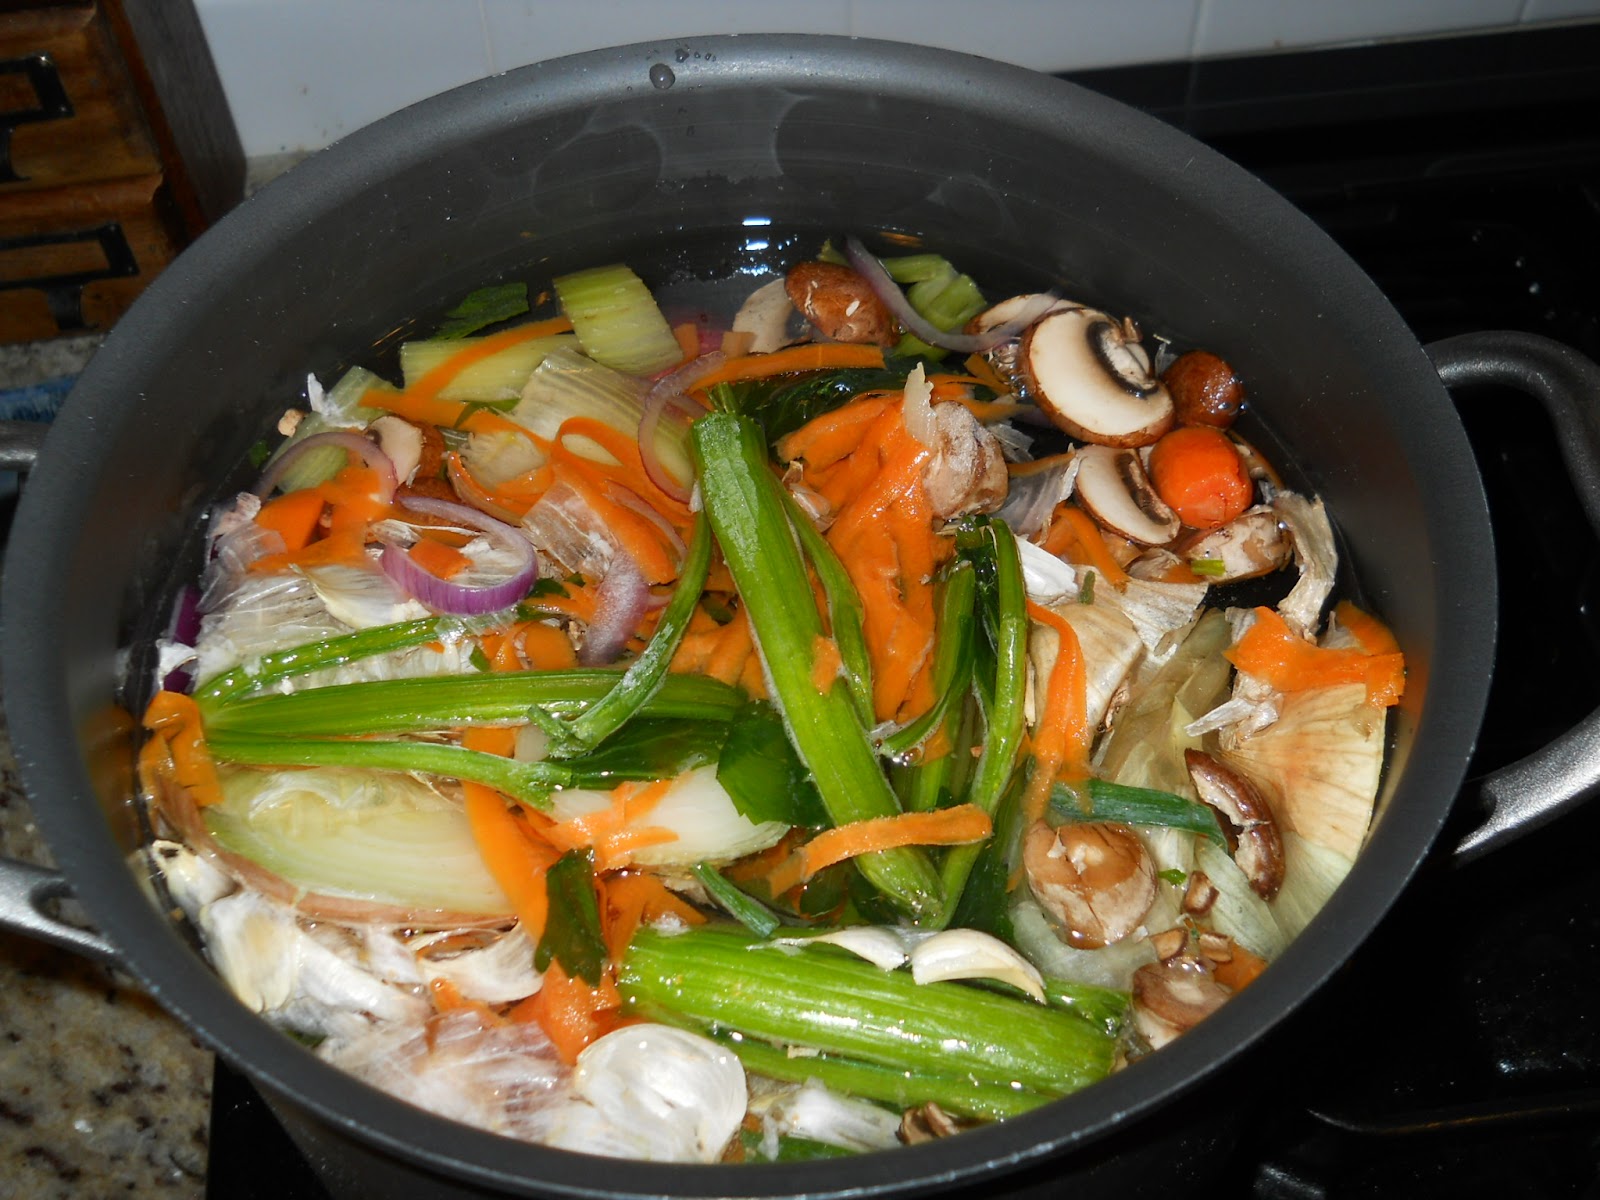
- Add vegetable scraps. This isn’t a science. You may add more or less depending on what you happen to have in the freezer or fridge at the time.
- Fill pot with enough water to cover bones and vegetables.
- Bring to a boil and skim the foam until it subsides
- Lower heat to simmer and let cook down, uncovered, 4-6 hrs
- As liquid boils off, add more water to keep bones and vegetables covered
- After 4 hours (or until you decide the stock tastes flavorful enough to you), strain the stock into another pot or bowl using a chinois (aka, fine mesh sieve) or a strainer with multiple layers of cheesecloth.
- Discard solids. You’re here for the stock, nothing more.
- Let stock cool overnight and carefully scrape (some or all) hardened fat off the top.
- Stock is now ready to use to freeze.
SHELLFISH STOCK
Follow same steps 1-8 above.
Stock will be ready to use or freeze after cooking is complete. There’s no need to refrigerate since there won’t be the same layer of fat to remove when making meat stock.
VEGETABLE STOCK
- Add all veggies to deep stock pot or dutch oven cover with water
- Bring to boil and simmer uncovered, 4-6 hours
- As liquid boils off, add more water to keep vegetables covered
- After 4 hours (or until you decide the stock tastes flavorful enough to you), strain the stock into another pot or bowl using a chinois (aka, fine mesh sieve) or a strainer with multiple layers of cheesecloth.
- Discard solids. No, you’re not going to use these lifeless vegetables for anything else.
- Stock is ready to use or freeze.
VARIATIONS: Add sliced ginger or galangal root for Asian flavors, add peppercorns or red pepper flake for a spicy stock
AVOID: veggies like broccoli, rapini (broccoli rabe) and asparagus are pungent and will likely dominate your stock (unless you’re making a soup with these as the main ingredient, avoid throwing these in the mix).
FREEZER STORAGE: Portion stock in gallon freezer bags and stack to save space or fill ice cube trays for an easy addition to sauces
In my opinion, 6 hours is the magic number, but spend the time you have. It’s worth it. The more you cook down your bones, shells and vegetable scraps, the more flavorful your stock will be.
Finally, to best control the seasoning in your final use of the stock, wait to salt until adding it to soups, stews or sauces.
Enjoy.
MJM
Pin It
Great post! Thanks for the tips. I will try some carrot ops and parsley but not many collard/mustard or kale green stems.
ReplyDelete